This post may contain affiliate links. Please read our disclosure policy.
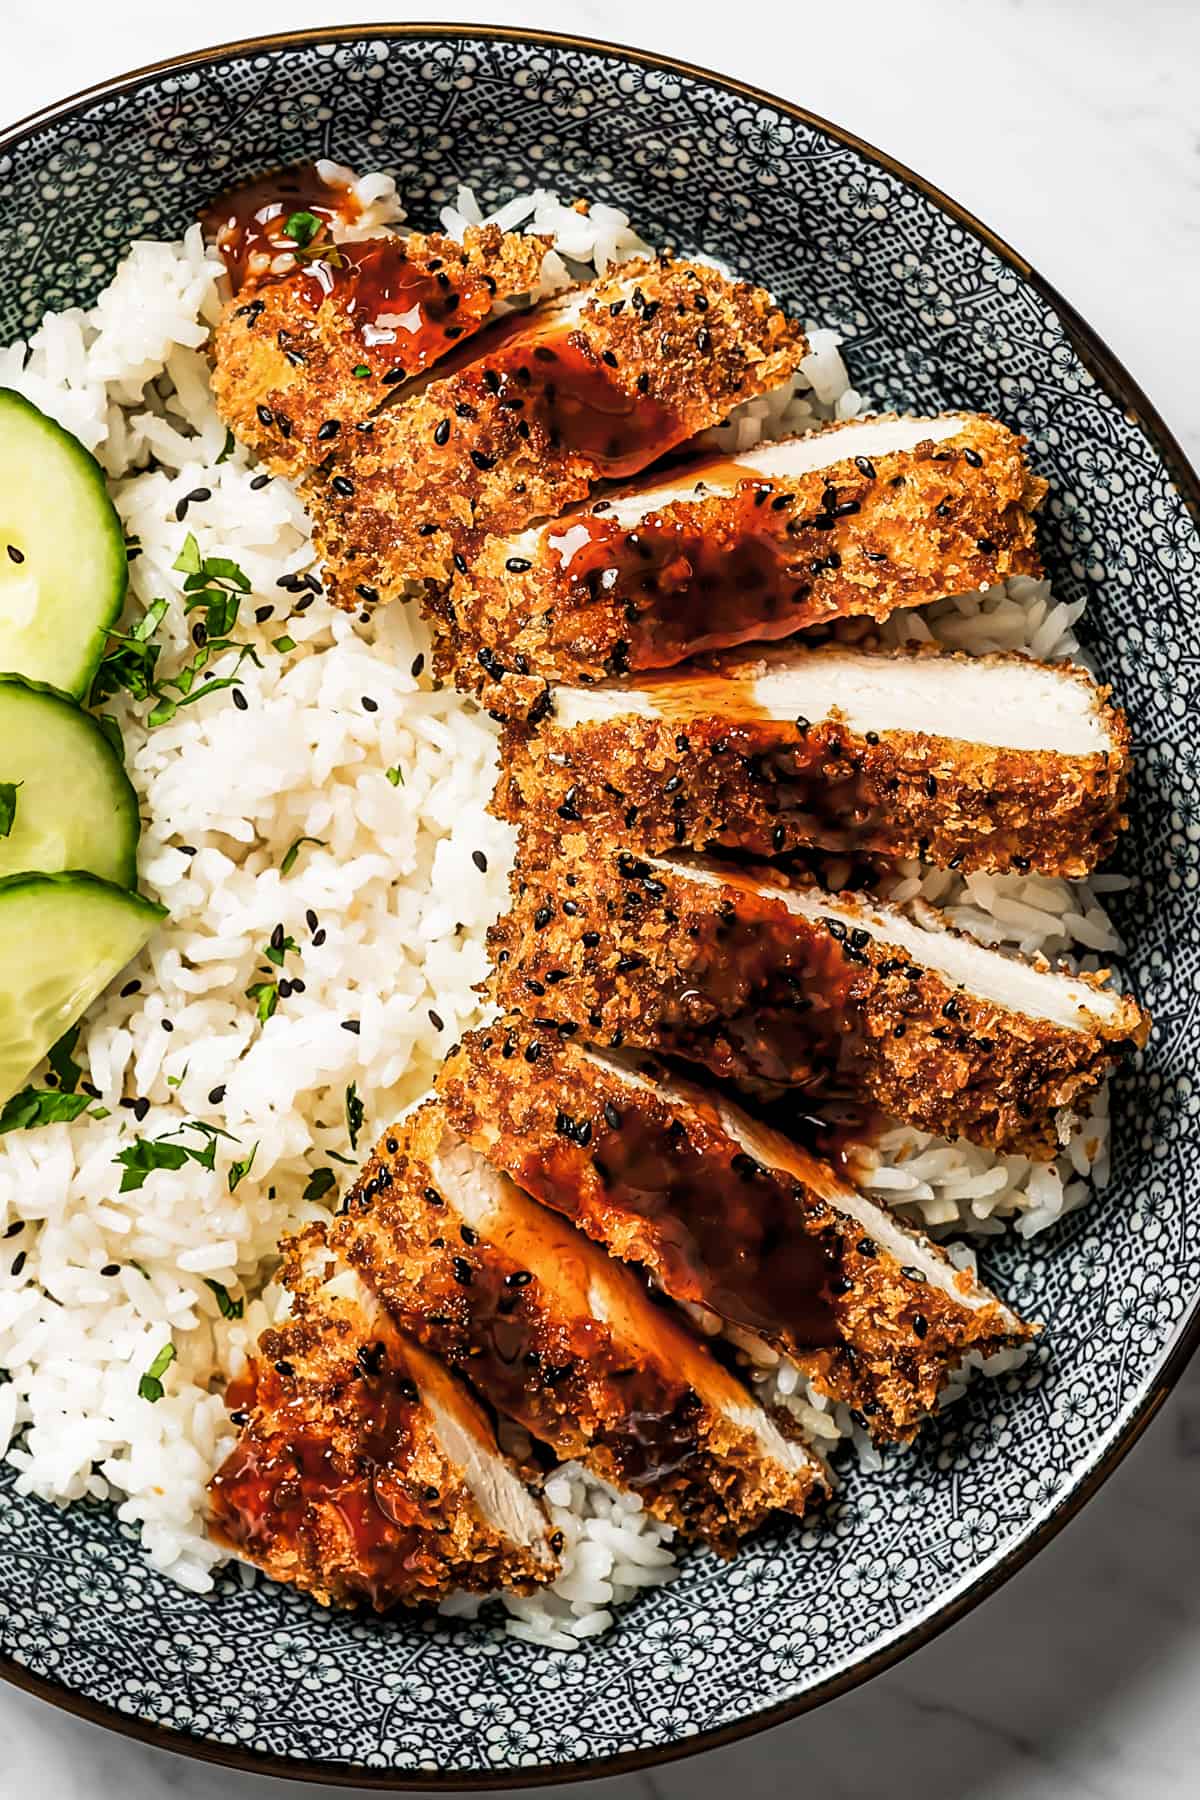
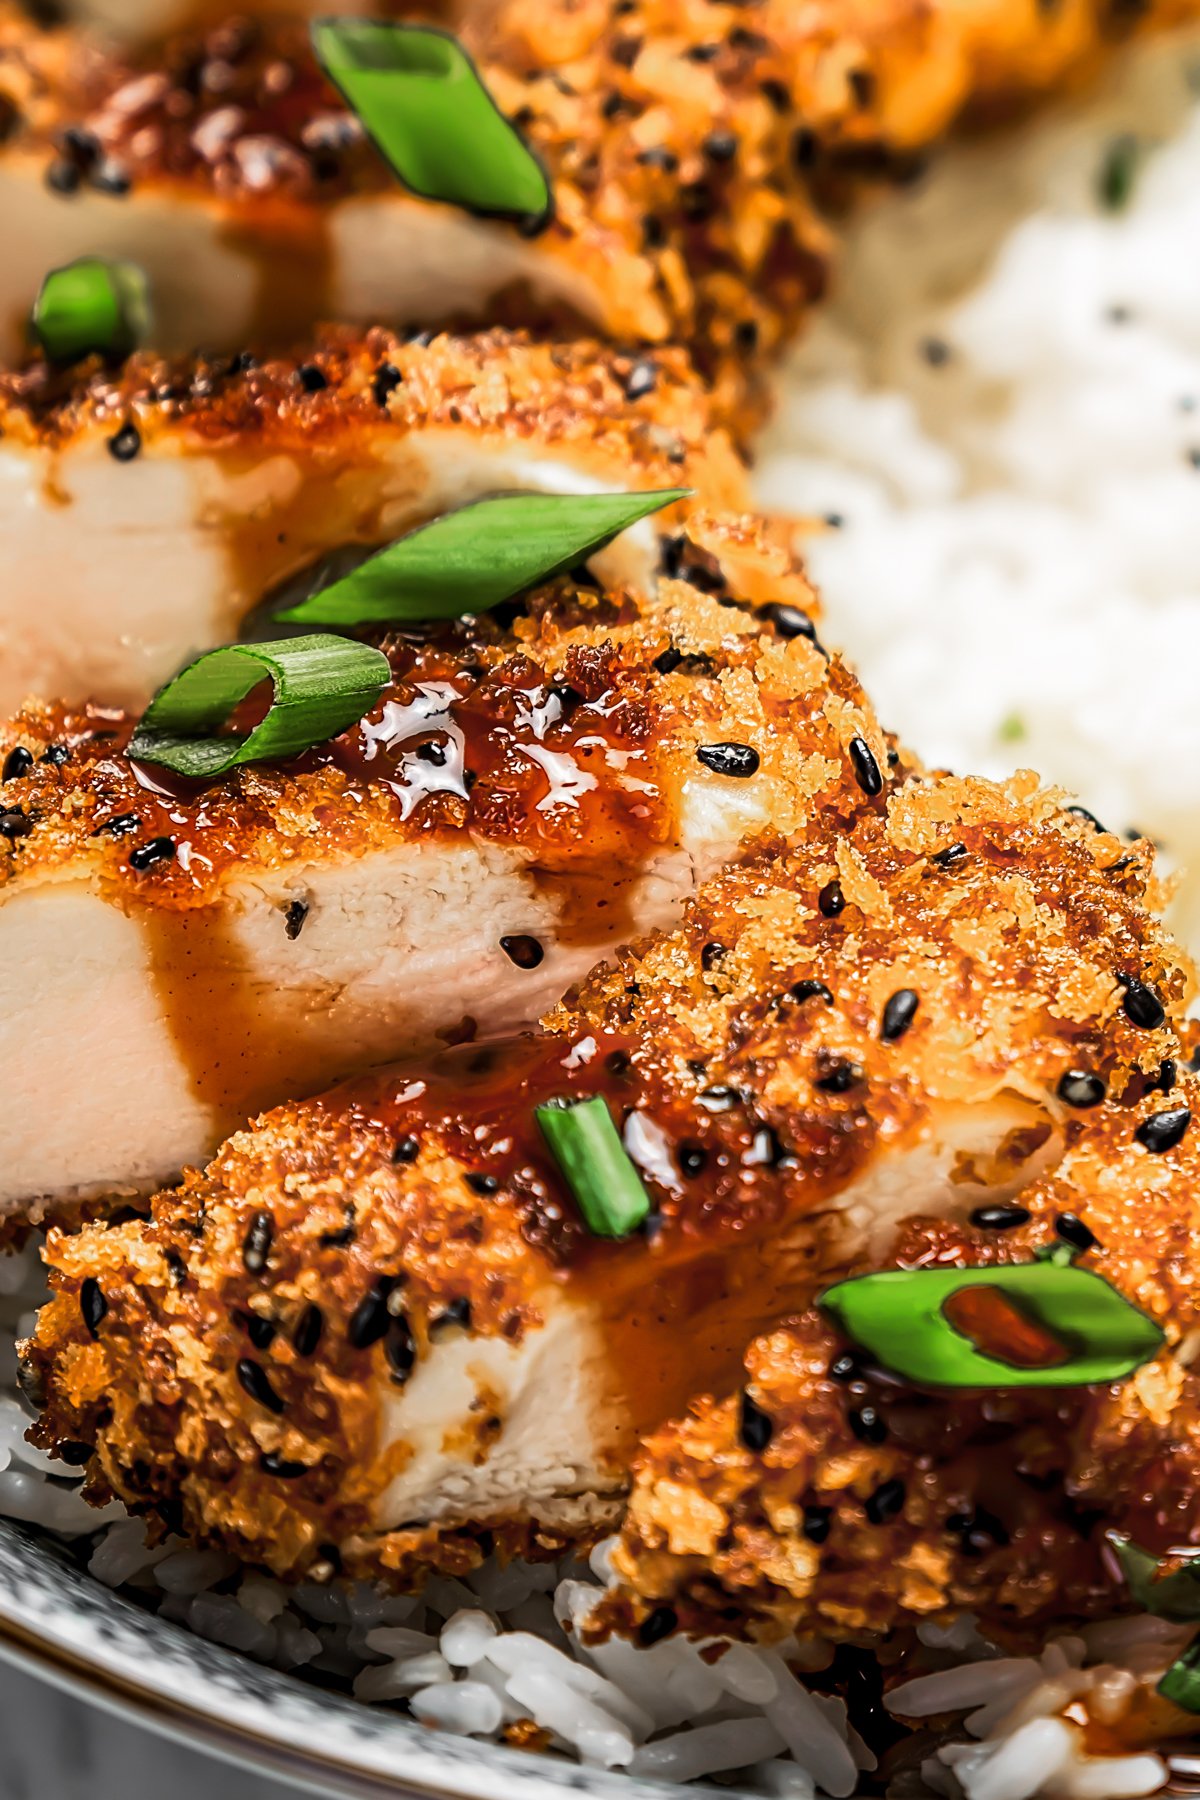
Wonderfully golden and crispy, this easy chicken katsu is loaded with flavor from a couple of secret ingredients. Drizzled with tonkatsu sauce, it’s the perfect Japanese side-turned-main dish.
Easy Japanese Chicken Katsu Recipe
Chicken Katsu is a classic Japanese dish prepared with crispy deep-fried chicken and pairs deliciously with tonkatsu sauce. With sesame seeds in the breading, this easy chicken katsu is perfectly juicy and comes with a pop of color that sets it aside from most katsu.
Ready in less than 30 minutes, it’s surprising how much flavor this simple recipe packs. With a bit of dashi, garlic powder, and ground ginger in the eggs and breading station, this Japanese panko chicken will steal all the spotlight. Don’t worry about it ever getting boring— you can make it with pork or even add some heat with Sriracha!
Dip it in Japanese mayo and serve it over fluffy rice for the best katsu you’ve ever had. This quick recipe is proof that small kitchen cheats and a couple of ingredients can go a long way in making your weekday meals a lot yummier without any extra effort.
What Is Katsu?
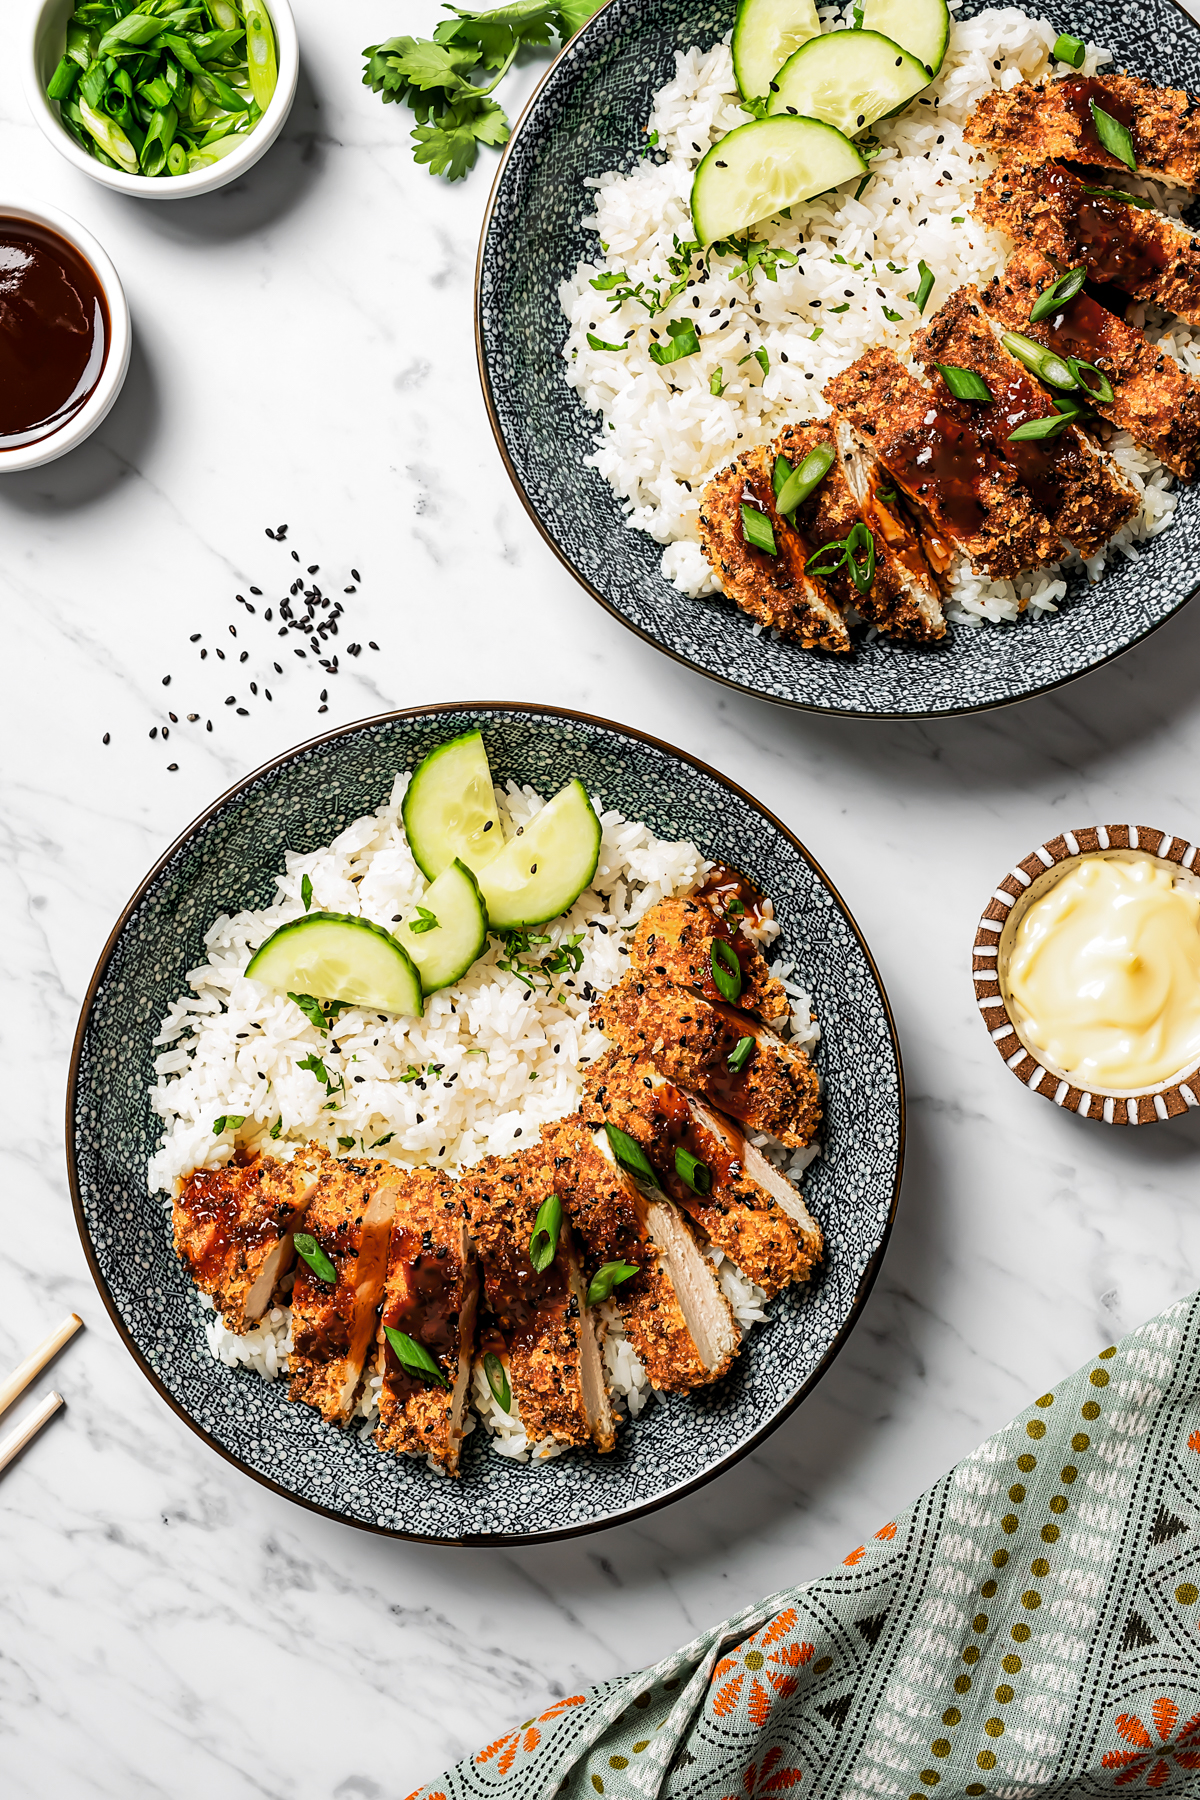
Japanese katsu refers to any deep-fried, breaded cutlet. It is made with chicken, pork, beef, or even fish. Katsu is usually sliced and drizzled with various sauces and condiments like tonkatsu sauce or Japanese mayo. It’s often served as a side or a main dish.
Recipe Ingredients
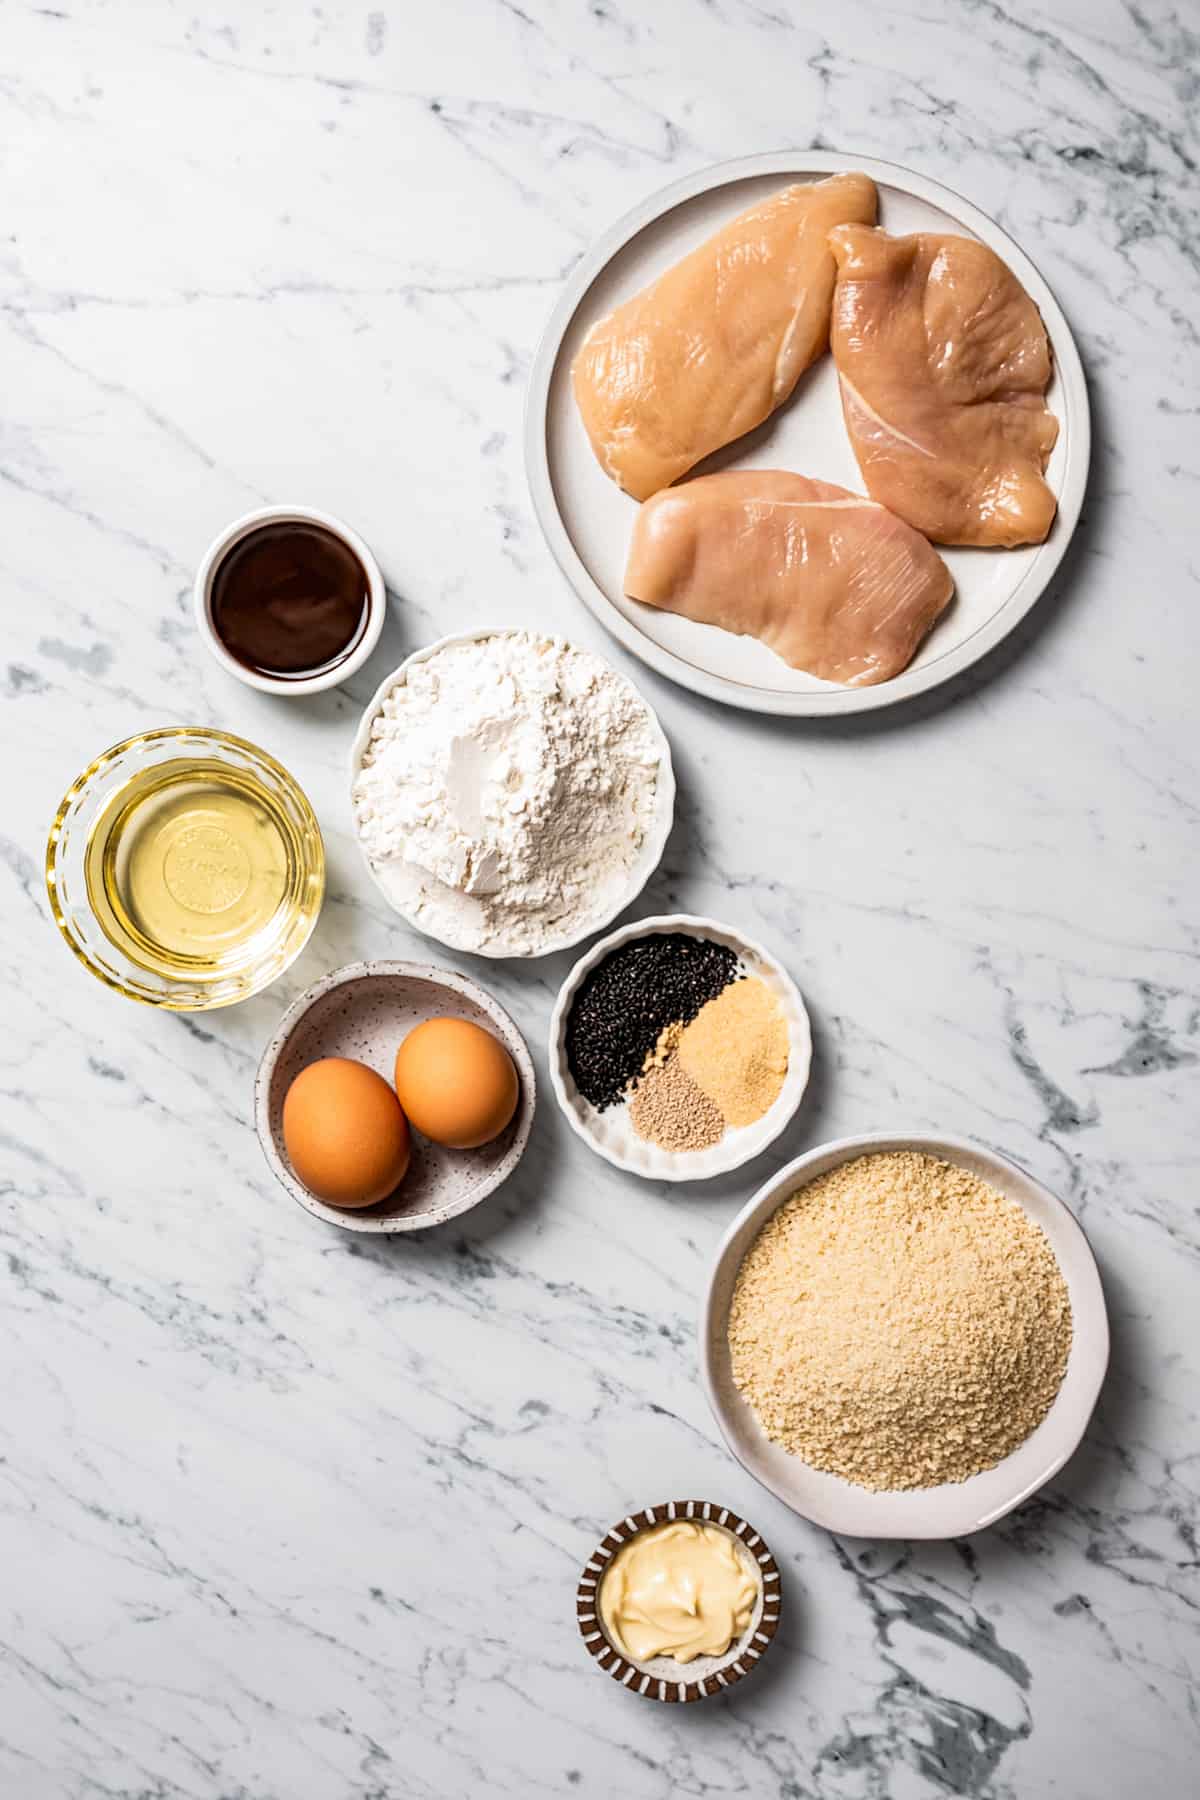
Don’t skip the panko! It’s what makes this katsu so crispy. Check the recipe card at the bottom of the post for full ingredient amounts.
- Boneless, skinless chicken breasts
- Eggs
- Dashi: Feel free to leave it out, but it adds excellent depth.
- All-purpose flour: Cornstarch will also work.
- Ground ginger: Don’t use fresh ginger.
- Garlic powder: No fresh garlic.
- Plain panko: If it’s seasoned, make sure it’s not an Italian flavor.
- Black sesame seeds: These add a nice pop of color, but white sesame seeds are also okay to use.
- Vegetable oil: Canola and corn oil are good substitutes. No olive oil because its smoke point is lower.
- Salt
- Tonkatsu sauce
- Japanese mayo: You can use full-fat mayo instead.
Easy Variations
With these easy versions of chicken katsu, you can create several dishes from the same base recipe.
- Serve it over udon. Make your favorite udon recipe and place the sliced katsu on top for an extra-filling meal.
- Make it spicy. Drizzle the katsu with Sriracha or add 2 1/2 teaspoons of shichimi togarashi chili powder into the panko to make it extra spicy.
- Add miso. Add 2 tablespoons of miso paste to the whisked eggs and mix well. It adds saltiness and umami.
- Use pork. As long as the cutlets are the same thickness, you can swap the chicken for pork.
How to Make Chicken Katsu
Making katsu is just like making breaded or fried chicken but with a Japanese twist. Check the Tips section for extra guidance and cheats.
For the Breading Station
- Prepare the chicken. Place the chicken on a chopping board and cover it with parchment paper or plastic wrap. Use a meat mallet or rolling pin to pound it until it’s 1/2″ thick. Discard the parchment paper and set the chicken aside. Make sure all your pieces are more or less the same size and thickness.
- Whisk the eggs. Crack the eggs in a small bowl and add the dashi powder. Whisk until well combined.
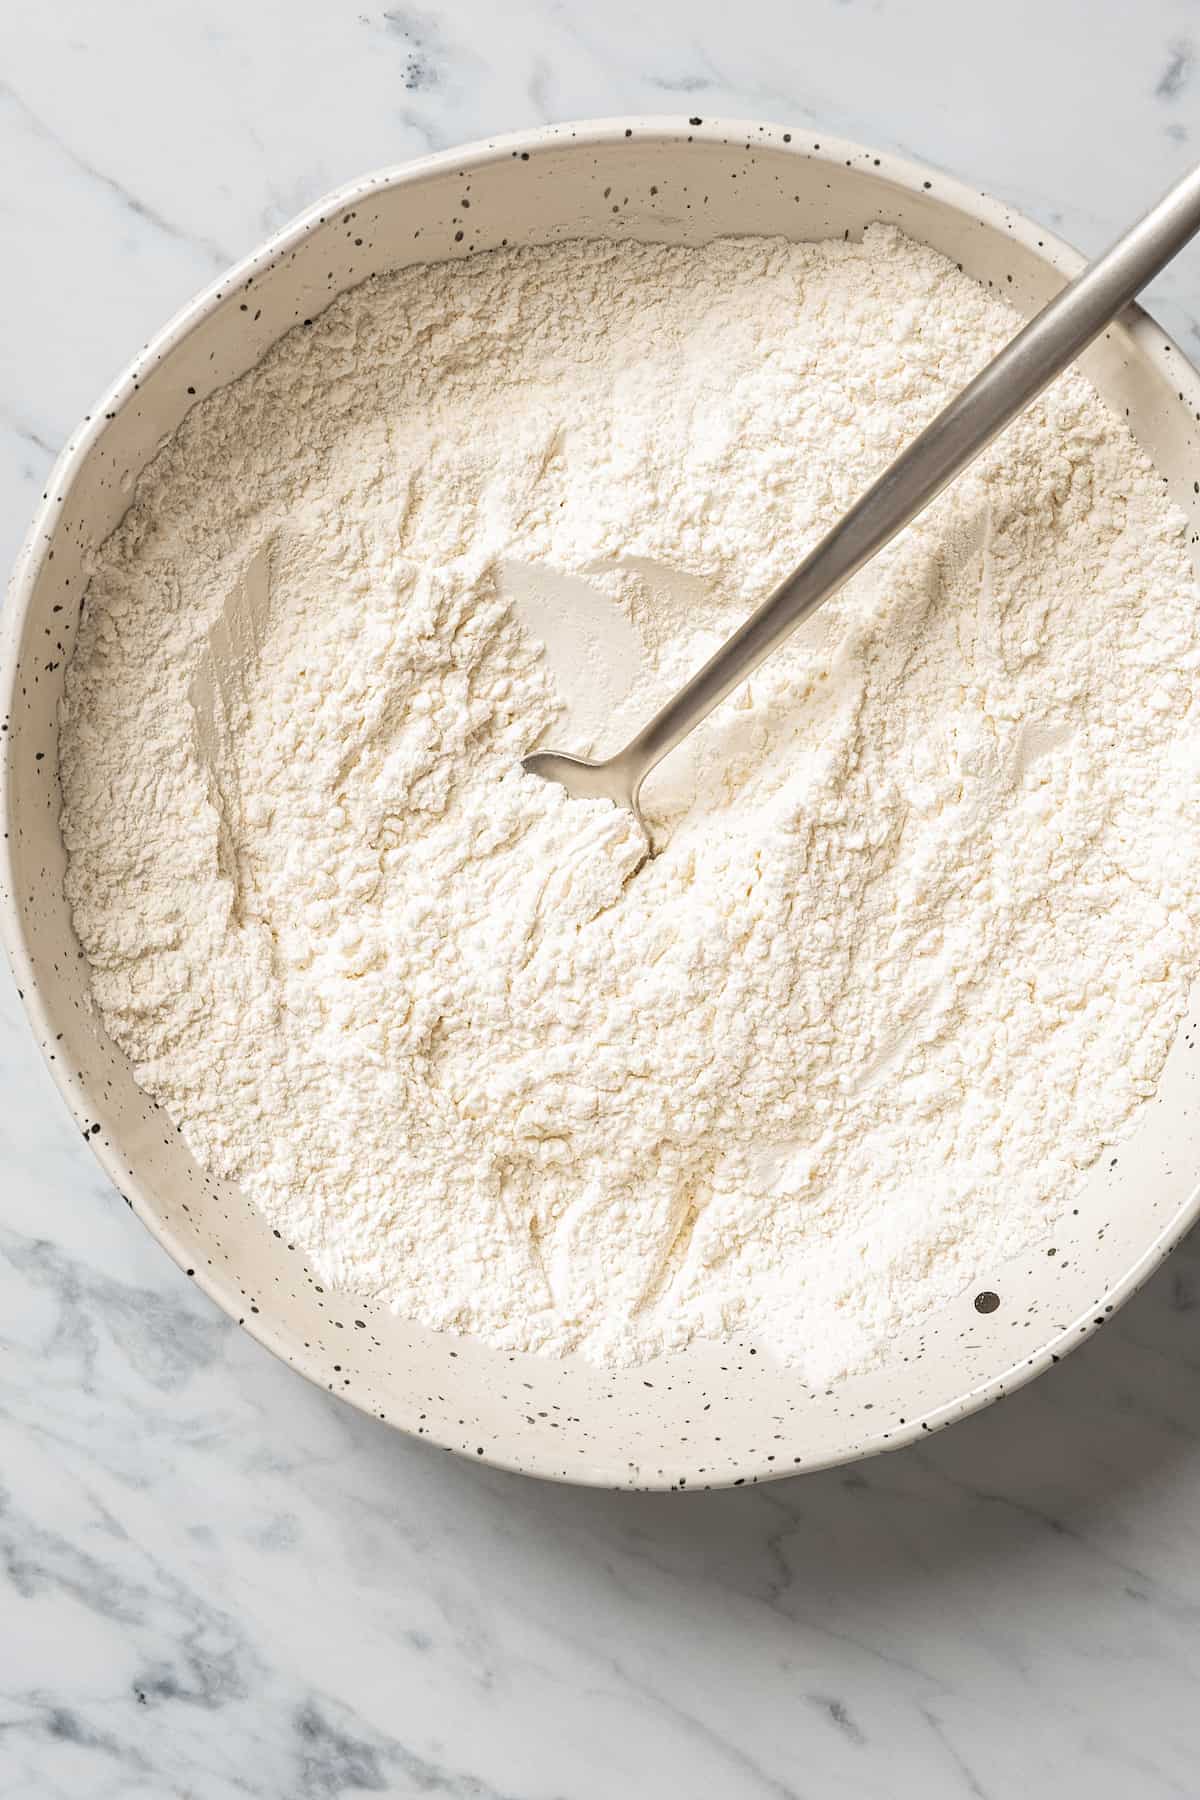
- Prepare the flour. Add the flour, ground ginger, and 1/2 teaspoon of garlic powder to a flattened plate. Mix until well combined.
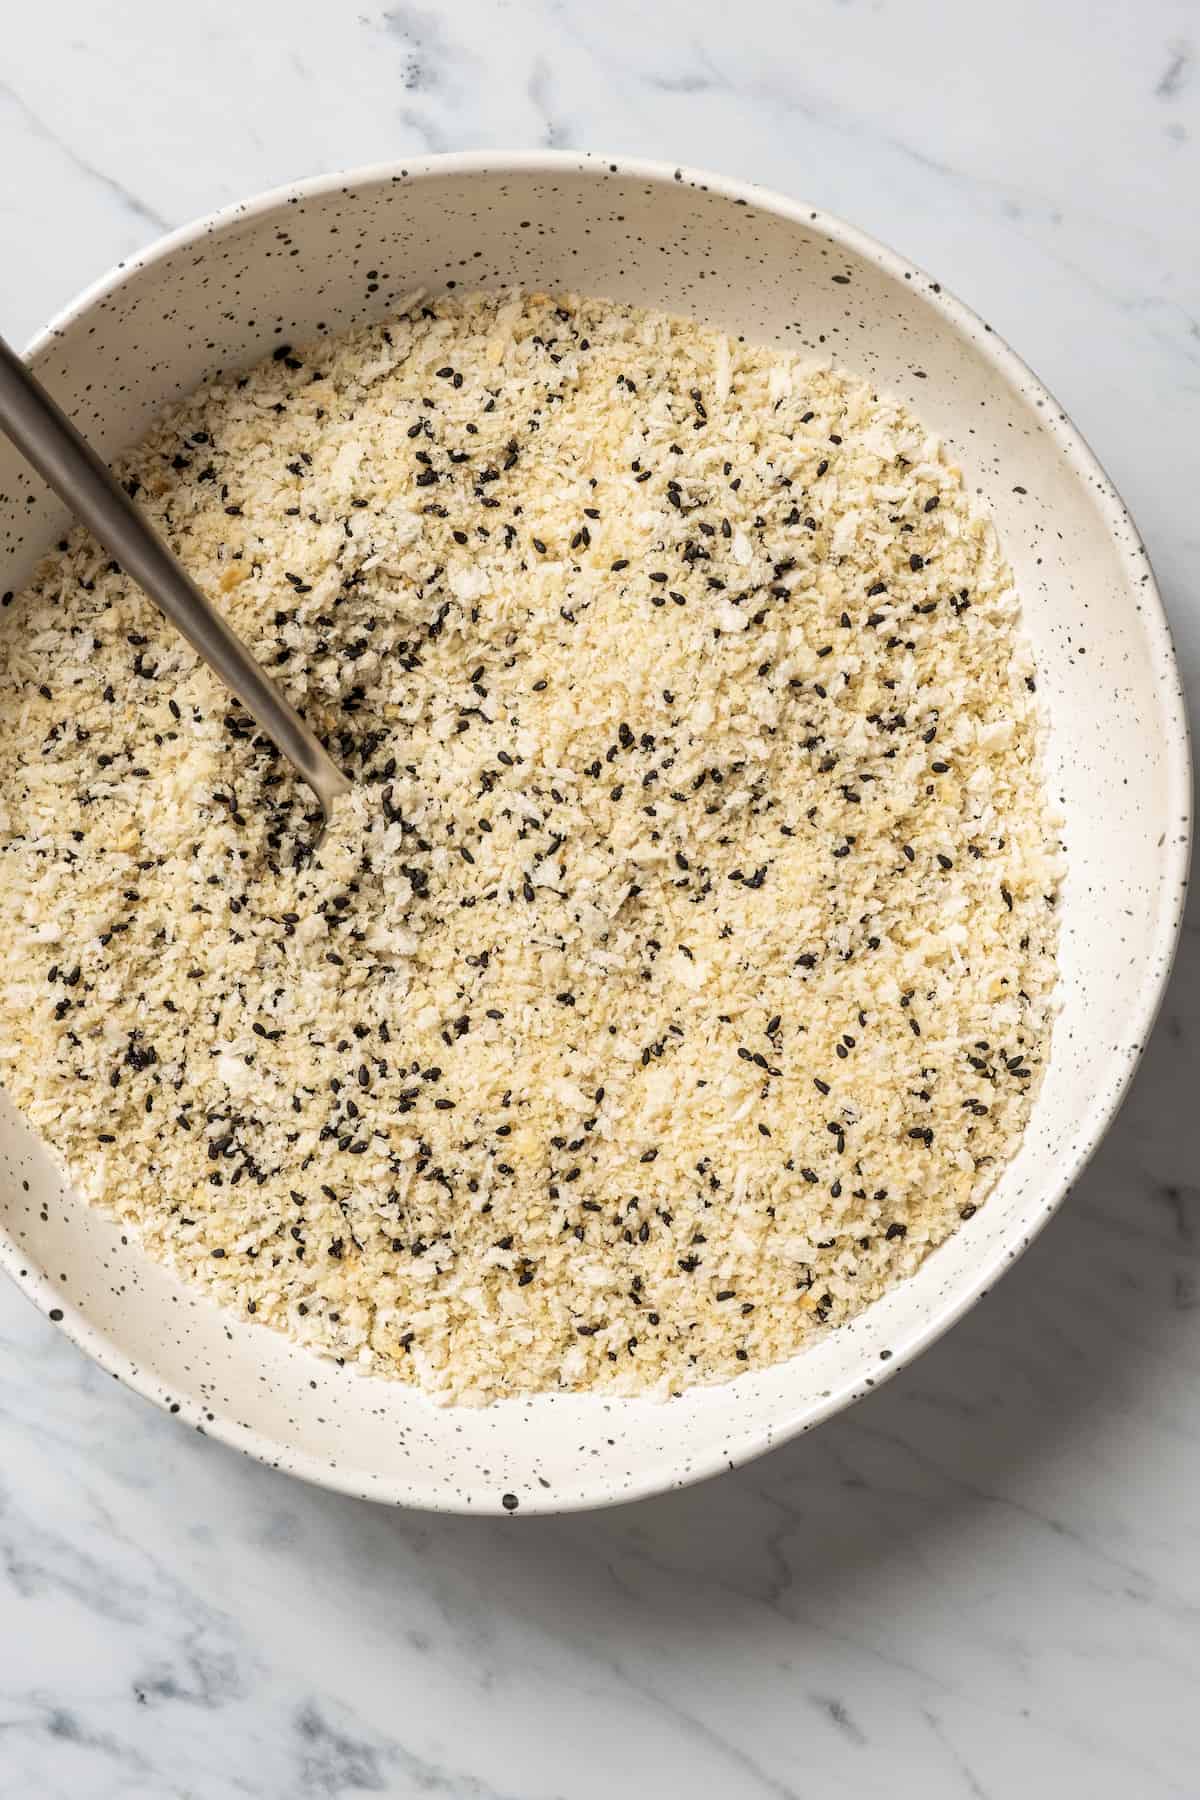
- Mix the panko. In a separate plate or bowl, whisk the panko, remaining garlic powder, and sesame seeds until well combined.
For Frying the Katsu
- Heat the oil. Add about 3 to 4 cups of vegetable oil to a pot for frying. Set it over medium heat and wait until it reaches 350˚F.
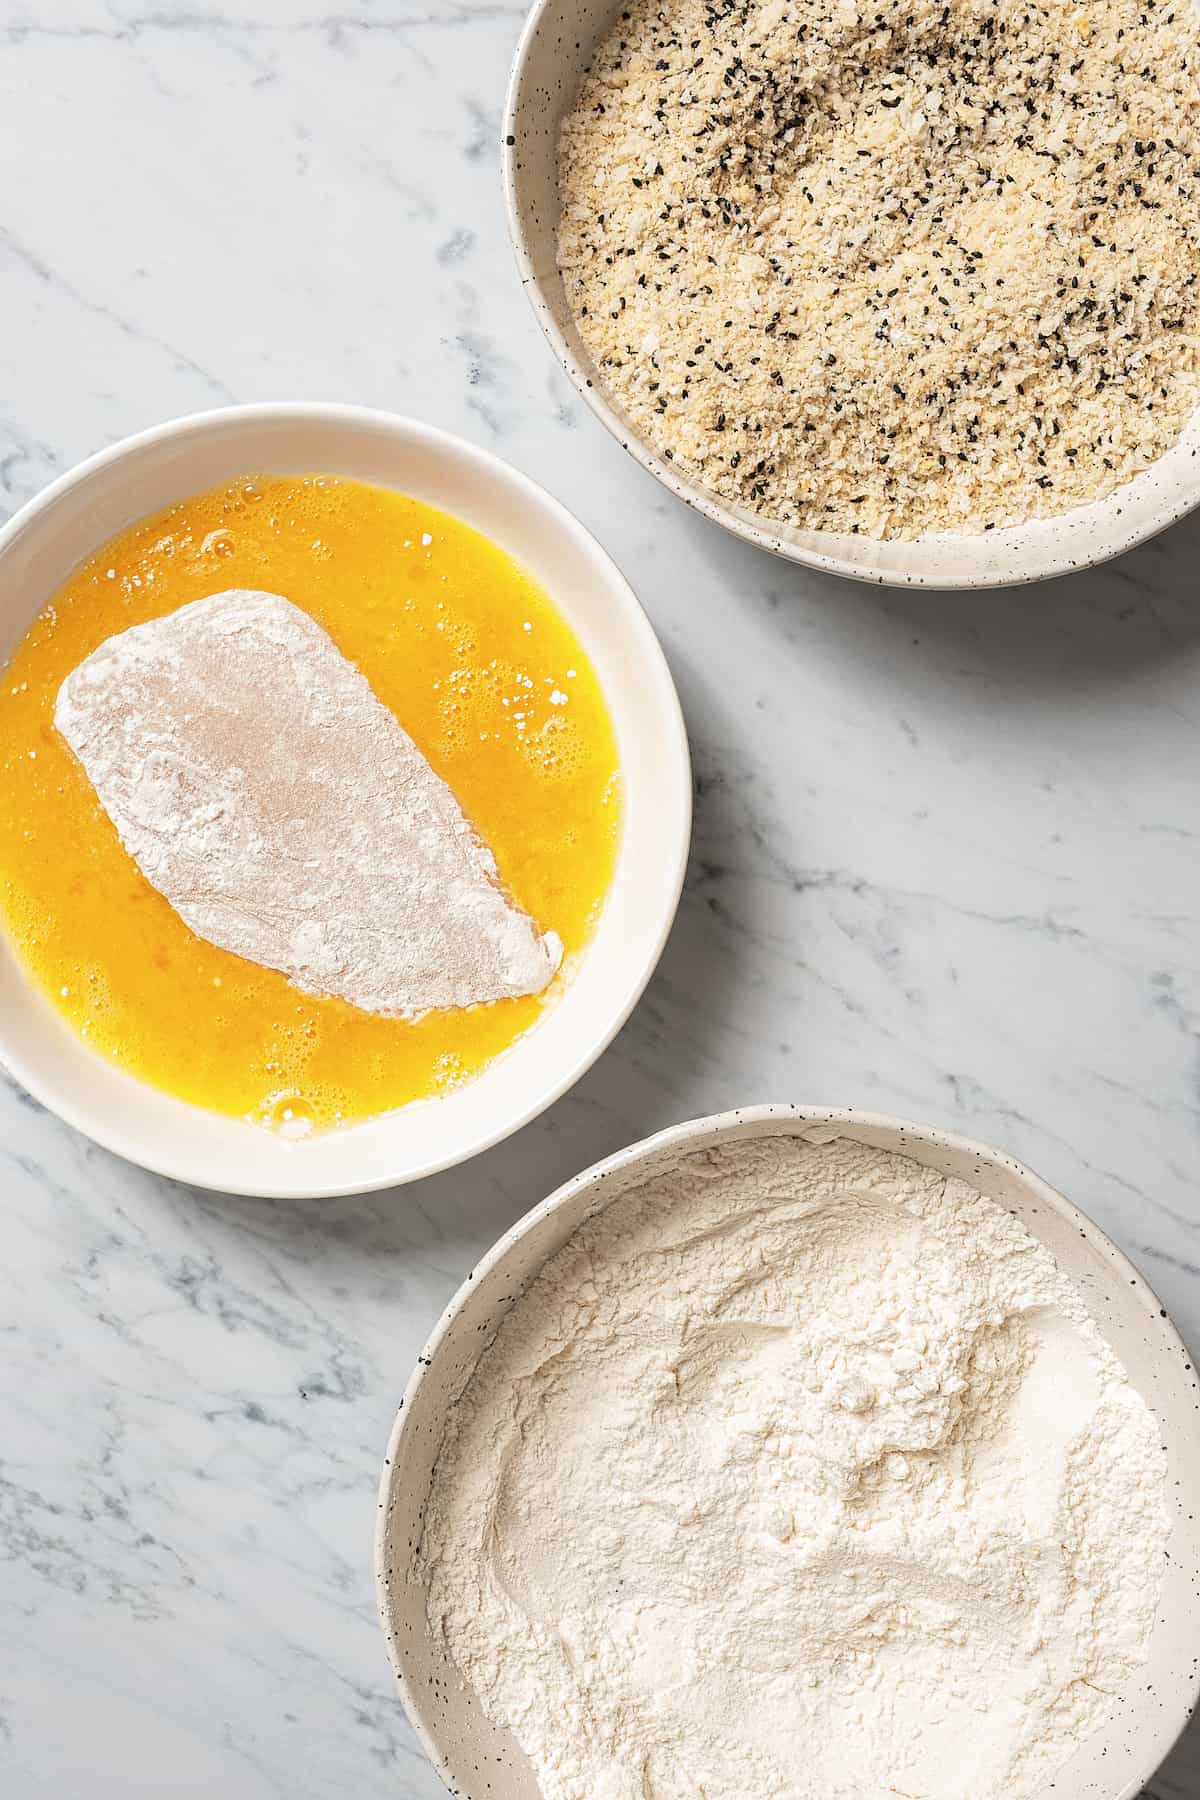
- Dredge the chicken. Coat the chicken with flour and dredge it into the egg mixture. Then place it in the panko mixture. Even after fully coated, continue pressing extra panko all over the chicken.
- Fry it. Gently lower one corner of the chicken into the oil. If it sizzles immediately, add a few chicken pieces to the pot. Let them fry for several minutes, flipping halfway through or until golden brown. Repeat for all the chicken.
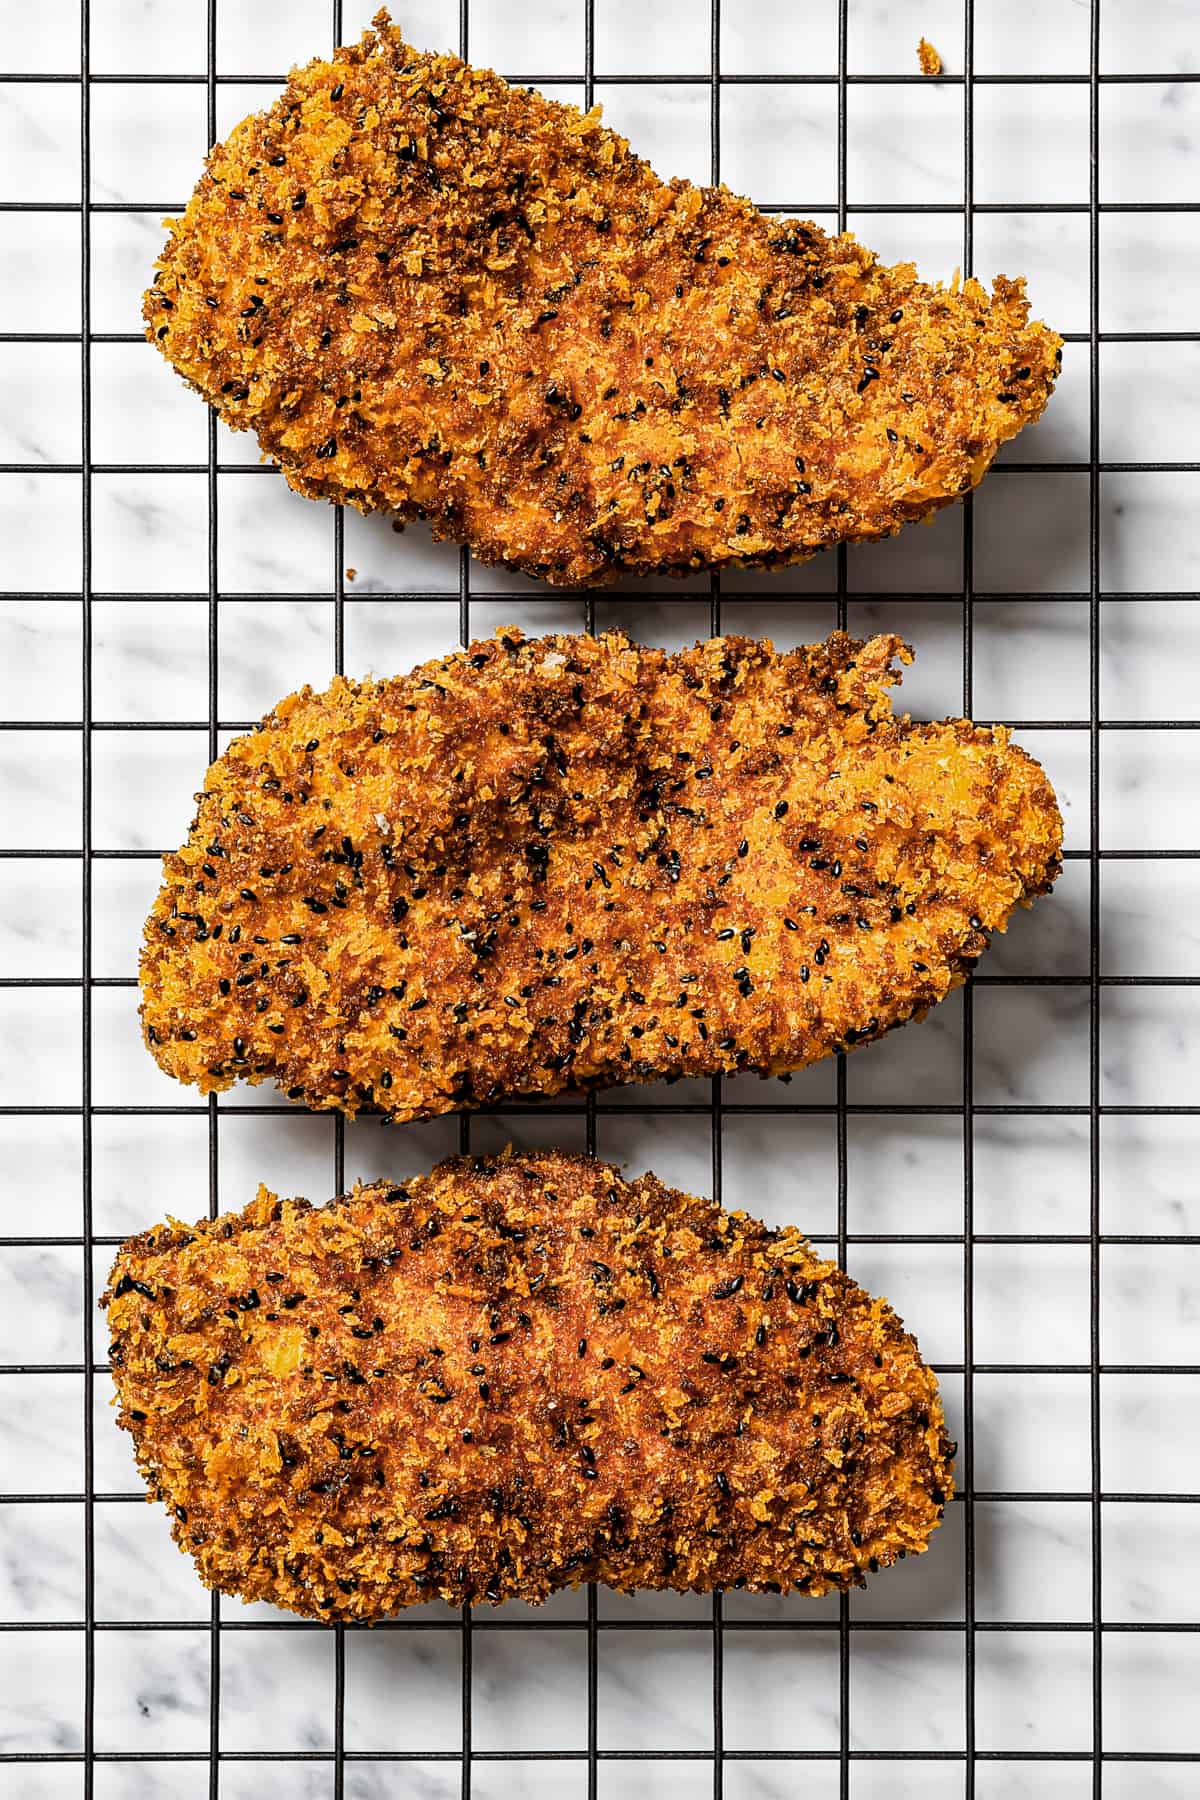
- Cool and serve. Remove the chicken from the oil and set it on a wire rack to cool. Let it rest for a few minutes before slicing. Sprinkle with salt to taste, cut it into 3/4″ strips, and serve.
Tips for Success
These tips will up your katsu game like a pro:
- Marinate the chicken. Mix 1/2 cup of soy sauce, 1/2 cup of water, 2 teaspoons of garlic powder, and 2 tablespoons of rice wine vinegar until well combined. Pour the mixture into a bowl and place the chicken inside. Cover the bowl with plastic wrap and refrigerate it for 6 hours. Discard the marinade and begin with the recipe.
- Buy cutlets. Using store-bought cutlets or even having your butcher slice and flatten the chicken for you will save you lots of prep time.
- Don’t overcook it. It’s important to remove the katsu from the oil once it’s golden brown on all sides. If you overcook it, the chicken will be dry, not juicy.
- Let the oil rest. Give the oil a 10 to 20 second resting time in between frying batches so that the temperature remains constant.
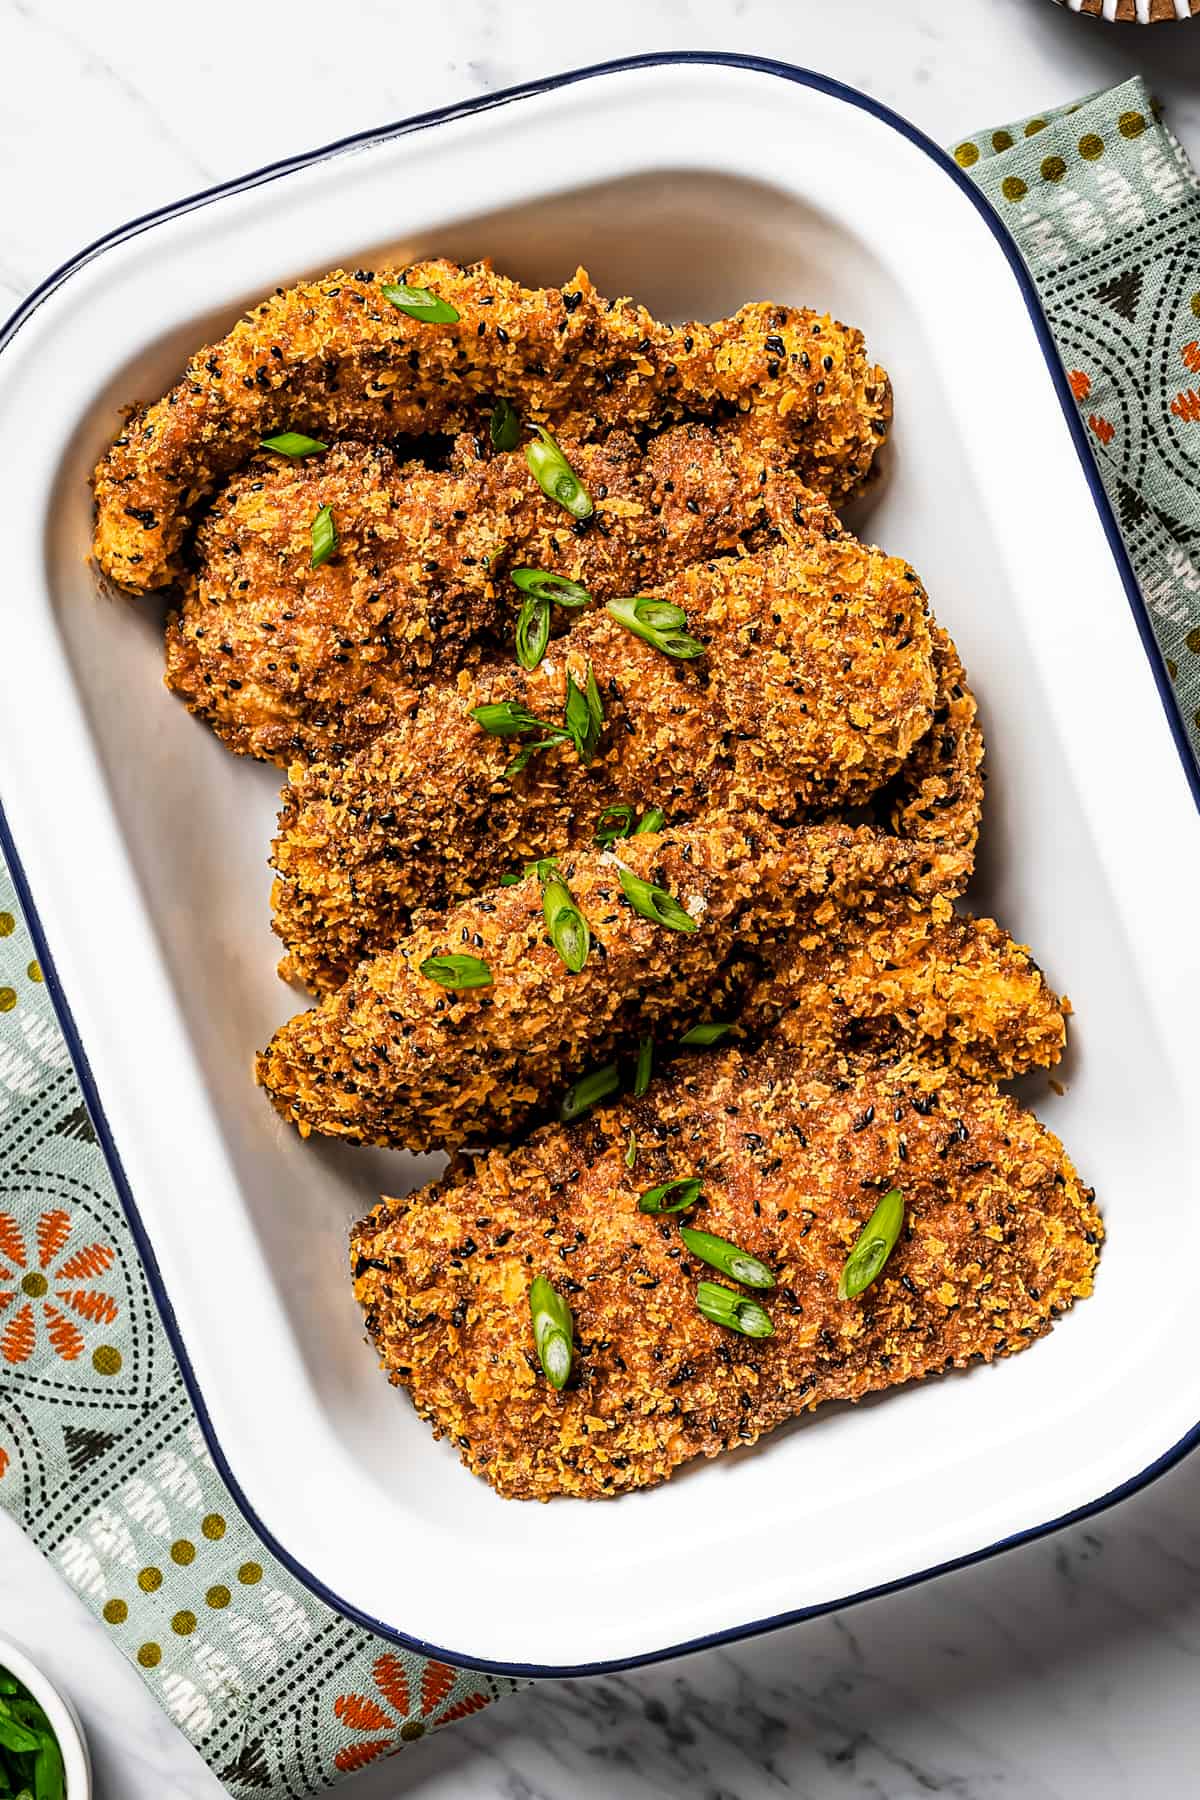
What to Serve With Japanese Panko Chicken
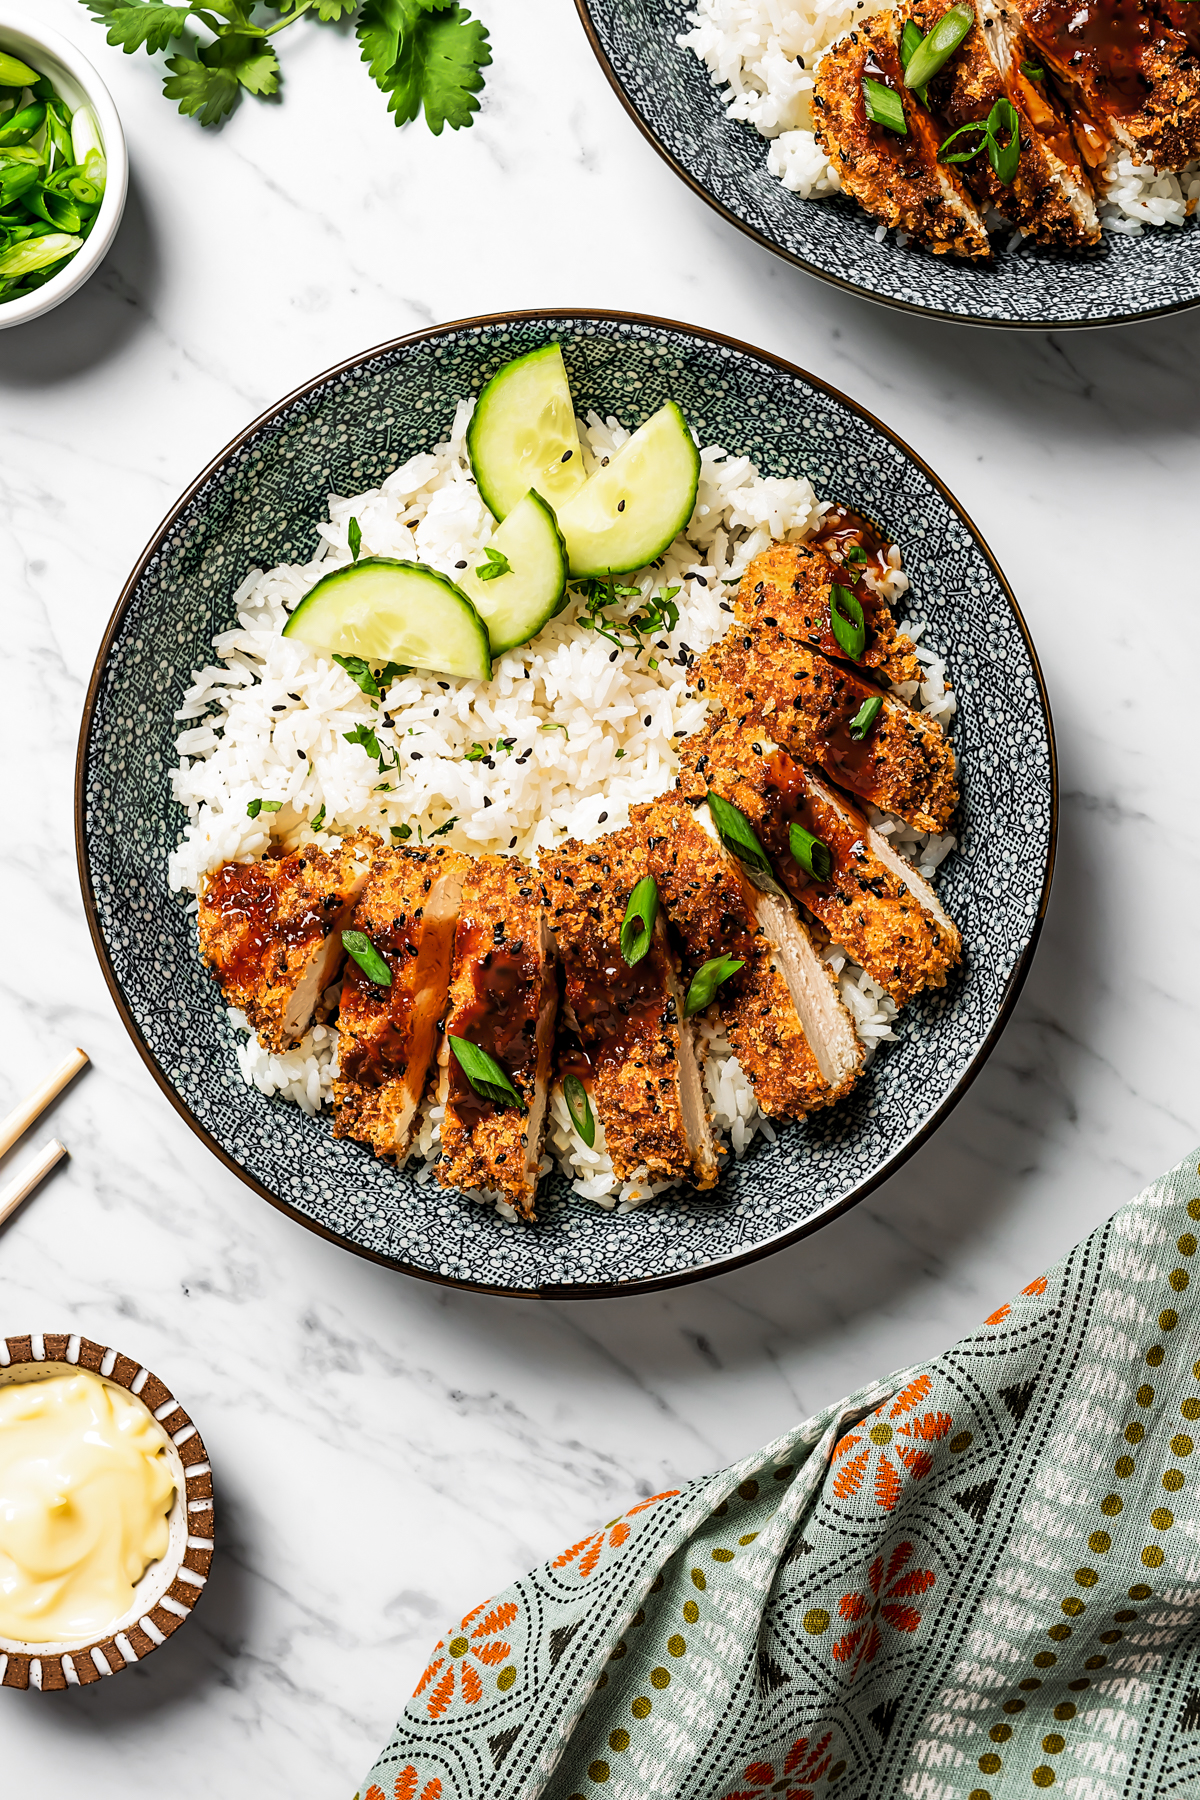
My favorite way to serve this chicken katsu is over a bed of Instant Pot Jasmine Rice with a simple cucumber salad for a bit of freshness. If you’re craving a more take-out style meal, try it with my Shrimp Fried Rice or Easy Chicken Fried Rice Recipe.
It’s also great with a side of my Pepper Steak Stir Fry Recipe, Sticky Sesame Cauliflower Bites, and Asian Chicken Noodle Soup.
How to Store & Reheat Leftovers
- Refrigerate any fully cooled leftovers in an airtight container for up to 3 days. Don’t store it longer than this so to reduce the risk of food poisoning.
- To reheat it, preheat the oven to 425˚F and place the katsu in a baking tray. Let it heat for 10 to 15 minutes or until crispy again.
- For something a little quicker, pop the katsu into the microwave for 1 to 2 minutes or until warm. Unfortunately, the microwave method won’t yield crispy results.
Can I Freeze This?
- Yes, but only if it’s uncooked. Once you coat it in panko, place the breaded chicken on a baking tray lined with parchment paper. Freeze it for 2 hours and then transfer it into freezer-friendly bags or containers.
- Freeze for up to 3 months.
- Don’t thaw it before cooking or the panko will soften. Heat the oil as usual and carefully lower the frozen cutlets into the pot, adding 1 to 2 minutes of extra frying time as needed until the katsu is golden brown.
More Asian-Inspired Recipes
- Asian Glazed Air Fryer Chicken Thighs
- Bang Bang Shrimp
- Chicken Lettuce Wraps
- Crock Pot Asian Meatballs
- Asian Beef Skewers
ENJOY!
Pin this now to find it later
Pin It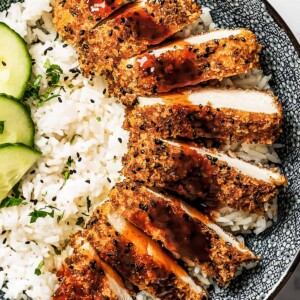
Chicken Katsu
Ingredients
- 2 large boneless skinless chicken breasts,, cut into 4 cutlets
- 2 large eggs
- ½ teaspoon dashi powder
- 1 cup all-purpose flour
- ⅛ teaspoon ground ginger
- 3 teaspoons garlic powder,, divided
- 2 cups plain panko breadcrumbs
- 3 tablespoons black sesame seeds
- 3 cups vegetable oil,, for frying
- salt,, to taste
- tonkatsu sauce,, for serving
- Japanese mayonnaise,, for serving
Instructions
- Place the chicken on a chopping board and cover it with parchment paper or plastic wrap. Use a meat mallet or rolling pin to pound it to 1/2-inch thickness. Discard the parchment paper and set the chicken aside.
- Crack the eggs in a small bowl and add the dashi powder. Whisk until well combined.
- Add the flour, ground ginger, and 1/2 teaspoon garlic powder to a shallow plate. Mix until well combined.
- In a separate plate or bowl, whisk the panko, remaining garlic powder, and sesame seeds until well combined.
- Add vegetable oil to a deep frying pan. Set it over medium heat and wait until the temperature of the oil reaches 350˚F. Use a kitchen thermometer to test the temperature.
- Press the chicken into the flour until it's completely coated on all sides. Next, dredge it in the egg mixture. Then place it in the panko mixture. Even after fully coated, continue pressing extra panko all over the chicken.
- Add 2 cutlets of chicken into the pot. Let them fry for 5 to 6 minutes, flipping halfway through, or until golden brown and fully cooked. Repeat with the rest of the chicken.
- Remove the chicken from the oil and set it on a wire rack to cool. Let it rest for a few minutes before slicing.
- Sprinkle with salt to taste and then slice it into 1/2-inch strips.
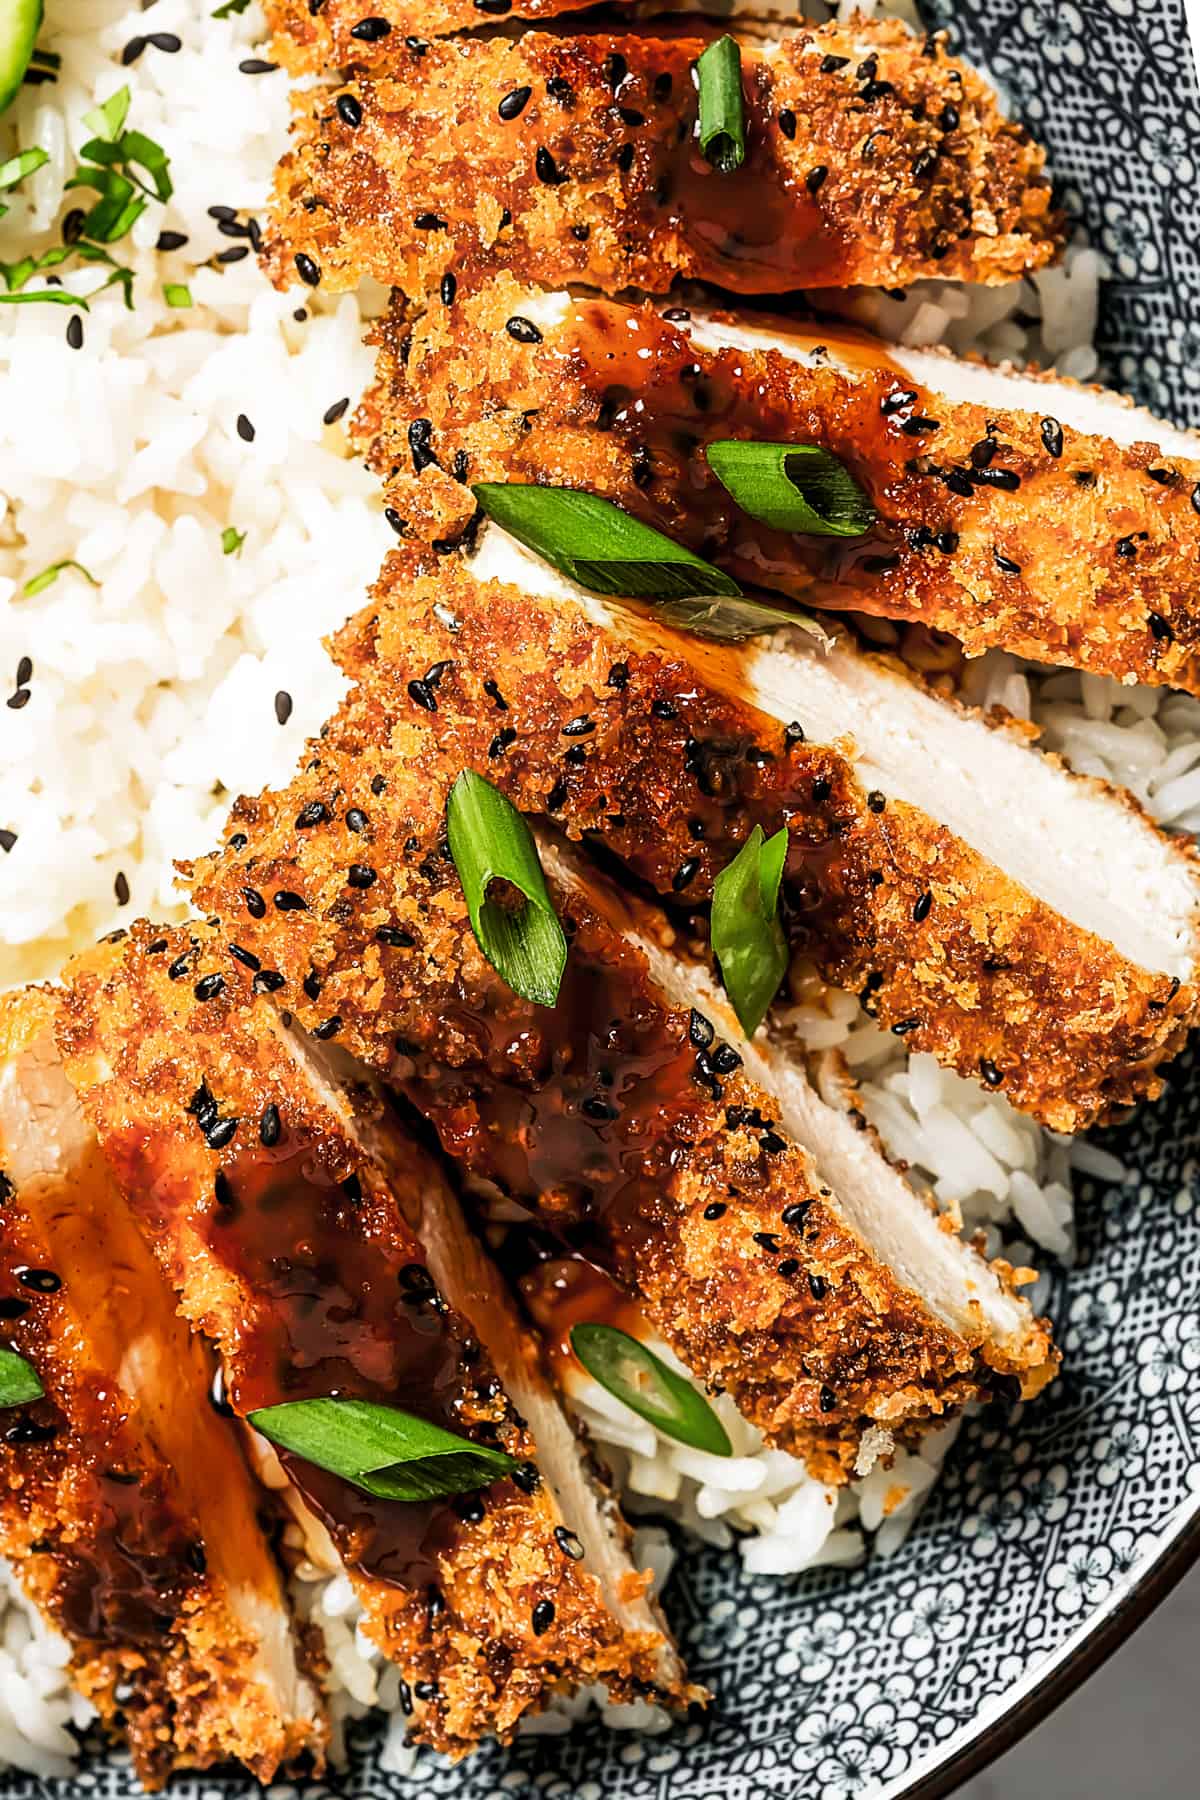
- Drizzle with tonkatsu sauce, dip in Japanese mayo, and enjoy.
Notes
- Chicken: You will need boneless skinless chicken breasts, but for less prep time, I suggest grabbing chicken cutlets instead.
- Dashi powder creates a savory umami flavor. If you don’t have or can’t find dashi powder, you can use a teaspoon of dark soy sauce.
- Oil for Frying: Use vegetable oil, canola, or peanut oil. Do not use olive oil because it has a lower smoke point.
- Don’t overcook the chicken. When the chicken’s internal temperature registers at 165˚F, remove it from the oil. If you overcook it, the chicken will be dry and not juicy.
Nutrition
Nutritional info is an estimate and provided as courtesy. Values may vary according to the ingredients and tools used. Please use your preferred nutritional calculator for more detailed info.
