Instant Pot Mashed Cauliflower with Garlic and Chives
Oct 26, 2018, Updated Aug 24, 2023
This post may contain affiliate links. Please read our disclosure policy.
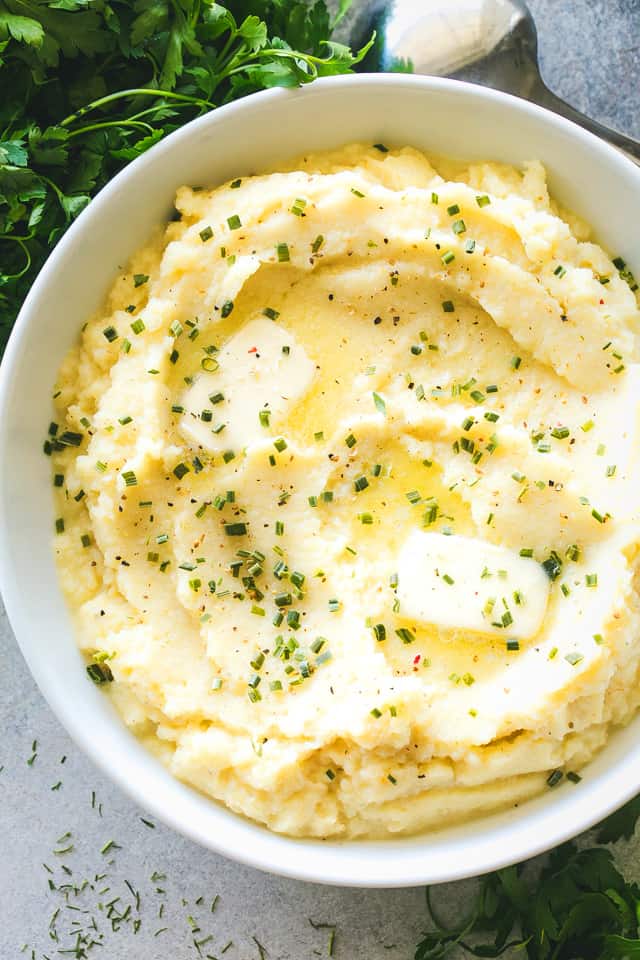
Creamy, buttery mashed cauliflower combined with plenty of garlic and chives makes for one super flavorful side dish! Instant Pot Mashed Cauliflower with Garlic and Chives is the perfect low carb alternative to mashed potatoes, and made in a fraction of the time, thanks to our Instant Pot.
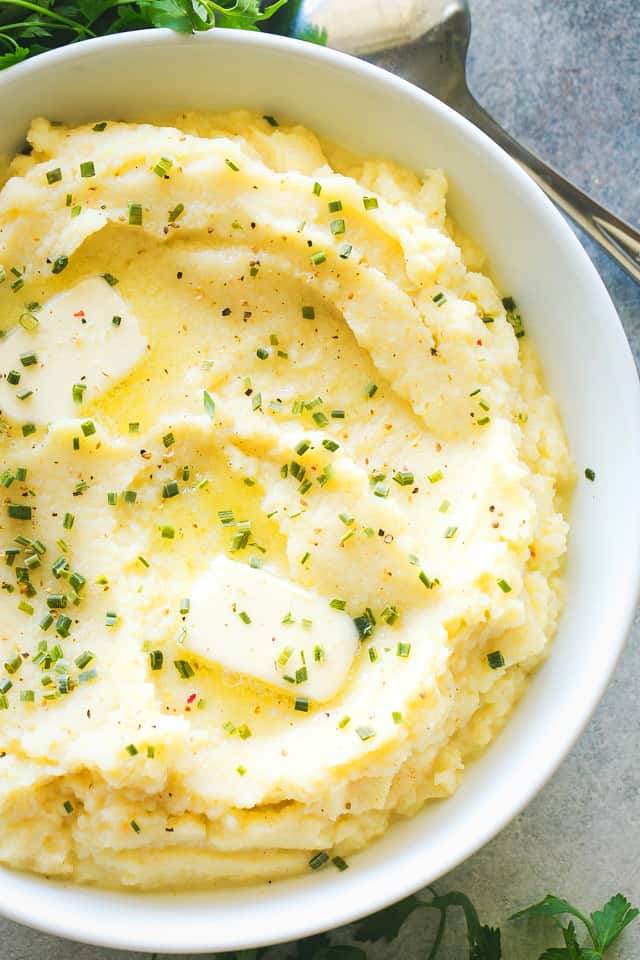
My Favorite Instant Pot Mashed Cauliflower Recipe
The yummiest cauliflower you’ll ever eat! Cauliflower is cooked in the Instant Pot until soft and then mashed with butter and sour cream. This is an easy and very quick recipe with lots of flavor. It’s creamy, rich, and so delicious! It’s also gluten-free, low-carb, and keto – not a bad way to start our Thanksgiving prep. My favorite part about this mashed cauliflower deal is that you can have a great side dish in minutes, literally. Also, this is much lighter than traditional mashed potatoes, and it just tastes so, so incredibly good! Don’t forget to serve them with that Juicy Roast Turkey with Maple Gravy from the other day. Want bacon and cheese with that cauliflower mash? Jot down my other recipe for Instant Pot Loaded Mashed Cauliflower!
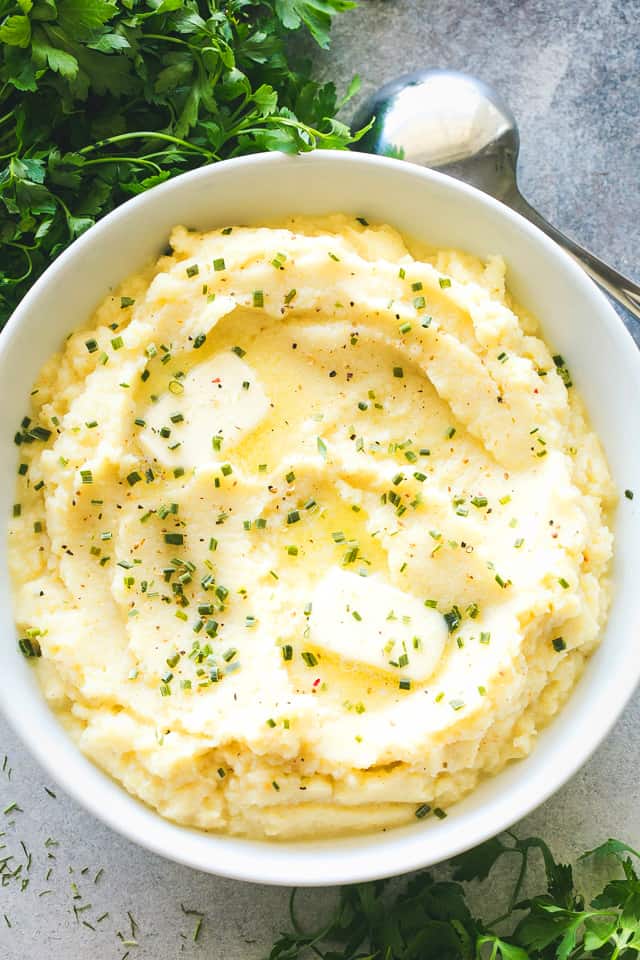
How To Make Instant Pot Mashed Cauliflower
- Set the Instant Pot to sauté and heat up a bit of olive oil; add 4 mashed garlic cloves and cook for 1 minute, or until garlic is golden brown on all sides.
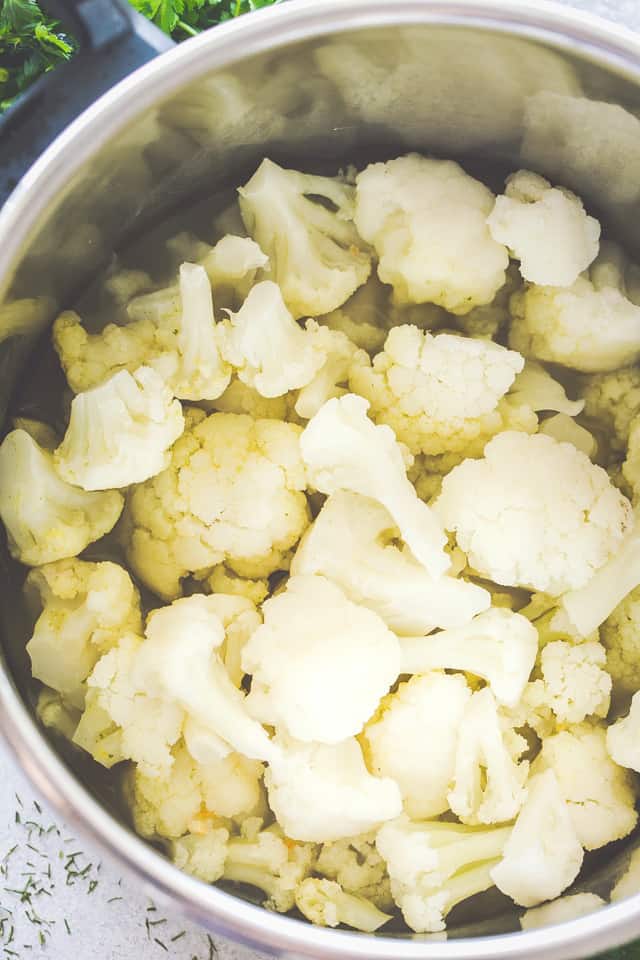
- Pour chicken broth and mix and stir for 1 minute. Place a steamer basket inside the Instant Pot and add cauliflower florets. Close the lid and set the valve to sealing.
- Set on manual setting and cook on high pressure for 3 minutes; quickly release the pressure and open up the lid halfway. Let stand for 3 minutes.
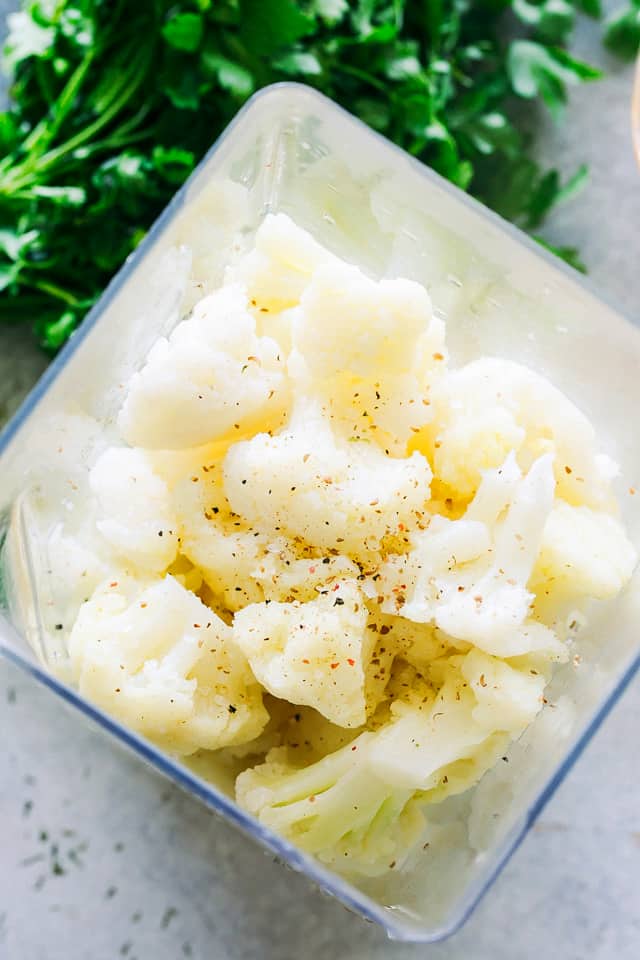
- Drain out the liquid completely and transfer the cooked cauliflower and garlic to a food processor or blender. Add butter, sour cream, and seasonings; pulse until blended and creamy to a desired consistency.
- Stir in fresh chives and parmesan, and serve.
How To Make Ahead Mashed Cauliflower
- Make the mashed cauliflower and then let it cool completely; transfer it to an airtight container and keep it in the fridge for up to 3 days.
- Reheat over low heat or in the microwave. Taste for seasonings and adjust accordingly. Add more butter or sour cream if needed.
To Make Cauliflower Mash Without An Instant Pot
For a non-Instant Pot variation of Cauliflower Mash, you might want to grab my recipe for creamy mashed cauliflower or follow these guidelines:
- Cut a head of cauliflower into florets, and boil the florets in salted water or chicken broth; boil for 10 minutes or until tender. Drain.
- Meanwhile, melt some butter and sauté the garlic for about 15 to 20 seconds. Transfer the garlic to the (drained) cauliflower florets and mix in the butter, sour cream, salt, pepper, parmesan cheese, and chives.
- Grab an immersion blender (or use a traditional blender or potato masher) and blend to a desired consistency.
- Taste for seasonings and adjust accordingly. Serve.
Tips For Instant Pot Mashed Cauliflower
- Quick Release: To prevent overcooking the cauliflower, use the quick-release method after the cooking time is up. This will stop the cooking process instantly.
- Sieve or Cheesecloth Draining: Once cooked, to ensure a non-watery mash, consider using a sieve or cheesecloth to drain and even lightly press out extra moisture from the cauliflower.
- Saute for Flavor: If you want to enhance the flavor, use the sauté mode to brown the garlic or other aromatics directly in the pot before pressure cooking.
What To Serve With Cauliflower Mash
- Bundt Pan Roasted Chicken
- Tender and Juicy Instant Pot Chicken Breasts
- Garlic and Rosemary Balsamic Roasted Pork Loin
- Stuffed Flank Steak with Spinach, Sun Dried Tomatoes, and Feta Cheese
More Instant Pot Recipes
- Instant Pot Mac and Cheese
- Instant Pot Creamy Chicken Tortellini Soup
- Instant Pot Barbecue Pulled Pork
- Instant Pot Beef Burritos
ENJOY!
Pin this now to find it later
Pin It
Instant Pot Mashed Cauliflower
Ingredients
- 1 large head cauliflower,, core removed and roughly cut into florets
- ½ tablespoon olive oil
- 4 cloves garlic,, smashed
- 1½ cups chicken broth,, you can also use vegetable broth or water
- ½ tablespoon butter
- 1 tablespoon sour cream
- ½ teaspoon salt,, or to taste
- ¼ teaspoon fresh ground black pepper,, or to taste
- ½ cup freshly grated parmesan cheese
- ½ teaspoon chopped fresh chives,, plus more for garnish
Instructions
- Set the Instant Pot to sauté mode. Add olive oil to the Instant Pot and heat it up.
- Stir in the smashed garlic cloves; mix and stir until garlic is golden brown on all sides, about 1 minute.
- Stir in the chicken broth and cook for 1 minute.
- Turn off the "sauté" mode and place the steamer basket inside your Instant Pot. Transfer the cauliflower florets to the basket inside the Instant Pot.
- Close the lid and set the valve to sealing. Set on manual setting and cook on high pressure for 3 minutes. Use the quick release function to release the pressure. Open up the lid halfway and let stand for 3 minutes.
- Drain out all of the liquid and transfer the cauliflower and garlic to a food processor or blender. You can also put the cauliflower and garlic in a large bowl and use a potato masher.
- Add butter, sour cream, salt, and pepper to the blender; process until blended and creamy. I recommend using the pulse function because you have more control over how creamy or chunky you want your mashed cauliflower.
- Transfer the cauliflower mixture to a mixing bowl or serving dish.
- Stir in parmesan cheese and chives. Taste for seasonings and adjust accordingly.
- Garnish with fresh chives and serve.
Notes
- Liquid Quantity: In the Instant Pot, use the suggested amount of chicken broth or water, which is enough for steaming and enough to create pressure without drenching the cauliflower.
- Quick Release: Use the quick release after cooking to instantly halt the process and avoid overcooking.
- Draining: After cooking, drain the cauliflower as much as you can. If needed, use a sieve or cheesecloth to press out extra moisture.
- To Make Ahead: Make the mashed cauliflower as per the recipe; let it cool completely, transfer it to an airtight container, and keep it in the fridge for up to 3 days. Reheat over low heat. Taste for seasonings and adjust accordingly. Add more butter or sour cream if needed.
Nutrition
Nutritional info is an estimate and provided as courtesy. Values may vary according to the ingredients and tools used. Please use your preferred nutritional calculator for more detailed info.



fantastic recipe! love it. so yummy, so creamy, will be a go to for me going forward!
YUM! Turned out great. I was craving mashed potatoes to complement a wild game pot roast and this mashed cauliflower hit the spot!
I don’t have a steamer insert so I simply scooped the cooked cauliflower out with a slotted spoon into the food processor. No big deal. Made the recipe as written but I added some onion powder since I didn’t have chives, yogurt instead of sour cream, and gave a good sprinkle of nutritional yeast for a nutrient boost. Will make again.
That’s great! I’m very glad you enjoyed it! Thank YOU! 🙂
I made this for the first time on Thanksgiving and I can’t get over how delicious it is. Much creamier than the other times I’ve made mashed cauliflower. I modified it to make it vegan and can’t wait to serve it to our guests. I will definitely be making this recipe again!
That’s great! I’m very happy you loved it! Thank you for chiming in! 🙂
My husband and I both loved this recipe. I didn’t have any sour cream so substituted plain Greek yogurt. Will surely make it again.
I’m very glad you and your husband enjoyed it! Thank YOU! 🙂
This was fantastic! Made it vegan, using vegan butter, vegan cream cheese rather than sour cream, and omitted the Parmesan. The texture was spot-on, and flavor was so delicious. This will be on a regular rotation at our house!
That’s great! I’m very glad you enjoyed it! Thank YOU! 🙂
I was just looking for the instant pot cook time, the 3 min was perfect for cauliflower purée! It soaked up SO much water, I don’t think you need to worry about wasting precious broth 🙂